Saturday, 30 June 2012
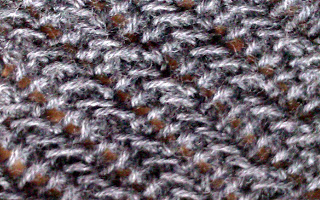
Saturday Stitch Session: Diagonal Tweed Stitch
Cast on a multiple of 5 sts + 7 sts.
Row 1 and every other row: P to end.
Row 2: K1, * yrn, p2tog, sl 2 pw, p1, rep from * to last st, k1.
Row 4: K1, p1 * yrn, p2tog, sl 2 pw, p1, rep from * to end.
Row 6: K1, ytf, sl 1 pw, * yrn, p2tog, sl 1 pw, p1, rep from * to last 4 sts, yrn, p2tog, sl 1 pw, p1.
Row 8: K1, ytf, * sl 2 pw, p1, yrn, p2tog, rep from * to last st, k1.
Row 10: K1, p1, * sl 2 pw, p1, yrn, p2tog, rep from * to end.
These 10 rows make up the pattern.
Friday, 29 June 2012
Tutorial: Tatiana's Tea Towel
I'm going to a wedding this weekend for our friends Ed and Tatiana. They actually got married in Chicago this March, but they're celebrating their nuptuals at the North Wooten Village Hall this weekend right here in (currently) sunny Somerset. She's American. He's English. Just like Olly and me! Unlike us though, they are very, very cool people. The epitome of East London cool, so I had to come up an equally cool wedding gift. And here it is... a tea towel.
Supplies
- a tea towel or a scrap of linen-like fabric
- two 19" by 2" strips of a decorative fabric
- smalls scraps of at least 10 fabrics
- brightly coloured sewing threads
- brightly coloured embroidery threads
- fabric glue
- sewing needles
- an embroidery hoop
- a measuring tape
- fabric scissors
- a sewing machine
- an iron (optional)
--------------------------------------------------------------------------------------
Step 1.
Gather up your supplies. I highly recommend ironing out your fabric scraps as this will make them easier to work with. Especially if they tend to stay stored all smooshed up in an optimistically small box, like mine.
 |
| fabric scraps |
 |
| iron your fabric |
Measure the linen-like fabric and cut it to your desired dimensions. I cut out a 18" x 30" rectangle.
Step 3.
Now you're going to decorate the two short sides of your tea towel by attaching a fabric tape. Take one of your 19" x 2" strips of decorative fabric, fold your strip in half lengthwise, wrong sides together and iron.
Open up your strip wrong side towards you. Fold each side towards the center crease and iron. Fold again along your first crease, right sides together, so your two folded edges are together, iron.
Now pin the tape that you've just created to a short side of your towel, tucking the towel into the fold. Top stitch the tape and the towel together. Repeat for your other strip of tape at the opposite end of the towel.
For very thorough instructions on creating bias fabric tape and working with it, see this link. If you are working with a ready-made tea towel, then you will simply stitch the tape over the existing hem. If you are making your towel from scratch, then there is no need to hem the short sides of the tea towel before adding the tape.
 |
| fabric bias tape |
Step 4.
If you have added a bias tape to each short side, you might need to trim
the each end of bias tape so that it is the same width as the tea
towel. On each long side
of the towel, fold and iron down 1/4". Fold down another 1/4", iron,
and pin it down. Then sew along each side, creating hems.  |
| hems on each long side |
Step 5.
Select at least 10 fabric scraps to make triangle decals for your tea towel. I found it helpful to make a paper template first by drawing a triangle on a piece of paper. My triangle was 4.5cm tall and 4.5cm wide. Then trace the triangle with a pencil on the wrong side of my fabric scraps. Cut out each of your fabric triangles.
 |
| use a paper template |
Step 6.
Place the triangles on your tea towel and play around with them until you have your desired look. My 10 triangles are placed in the corner of my the tea towel to make up one big triangular pattern, but you could create any pattern you like.
 |
| get the placement right |
Step 7.
Adhere each of your triangles to the tea towel with fabric glue. Yes that is washable PVA in the photograph below, but I opted for fabric glue in the end for fear that the triangles would misshapen after washing if I used PVA.
 |
| glue on triangles |
Now you're going to sew all of your triangles onto the tea towel. My sewing machine isn't very fancy, but I thought it would be cute to use a zig zag stitch rather than a plain old straight stitch. It's really up to you. Leave a few inches of thread as a tail when you cut the piece away from the sewing machine. Tie a double knot with your two threads as close to the piece as possible. Trim the threads carefully so as not to cut the knot.
 |
| double knot |
All of your triangles have been sewn on to your tea towel. Using two strands of your embroidery thread and a hand sewing needle, add decorative touches to your tea towel such as the lines I created between rows of triangles. Be sure to use double or triple knots on the back of your tea towel to secure the embroidery thread as the tea towel will presumably be washed - if it isn't too cute to use!
 |
| embroidered lines |
Because my tea towel is a wedding gift, I wanted to add a personal touch for the happy couple. Using a no.2 pencil I very lightly drew their initials to the right side of the towel. You could easily add an iron-on transfer motif or leave off more embroidery all together. After drawing on the initials, I used an embroidery hoop to create tension in my fabric before selecting a neon yellow thread to complete the look.
That's it! Enjoy!
If you have any questions about this tutorial, if I have forgotten a step, or if you'd like to share your ideas to improve on this project, please feel free to leave a comment below. I always read comments and will be happy to answer. Thanks!
 |
| tea towel detail |
 |
| tatiana's tea towel |
Thursday, 28 June 2012
Naomi Paul Textiles
 |
| naomi paul textiles |
 |
| naomi paul textiles |
Finish embroidering dress // Finish sewing dress together // Rearrange wool shipment to be delivered tomorrow // Pack all clothes and wedding gifts ready for move tomorrow // Write blog posts for the next two days // Attend doctor's appointment - embroidery in hand // Attend hair stylist appointment - embroidery in hand // Set up business account at bank // Clean all laundry in prep for not having a washing machine ready in new place // Try to remember everything else I'm supposed to do!
Oh how I wish I could spend the day knitting up a fabulous creation like the home accessories above by Naomi Paul. Images of her work are circulating on pinterest, but none of the images linked back to her website. Isn't that so annoying?! I just had to look her up, and I must say that what I found was not disappointing. I don't want to steal too many images without her permission, but here's an excerpt from her website.
Naomi Paul is a London based designer who is creating some truly unique and intelligent textiles for interior products and spaces. Her aesthetic is clean and modern yet takes inspiration and methods from the past.An expert in combining vintage and charity with contemporary items in her own life, her designs are created using a range of recycled, upcycled, organic, industry waste and British luxury material. Through physical exploration of the yarns constructing and deconstructing ideas Naomi’s designs evolve organically, forming pattern through structure with a subtle sophisticated use of colour.
Wednesday, 27 June 2012
Knitting Aside
 |
| vintage dress patterns |
What have I done?! Sometime around 8 o'clock last night it occured to me that I don't really have anything appropriate to wear to a wedding on Saturday. I'm "in between sizes" at the minute, which means that I've gained some weight and am not ready to commit to buying clothes in the next size up - with hopes that I'll trim down as soon as 1. we move, 2. I join the gym, 3. I start cycling to work, and 4. I stop drinking a glass of wine with dinner every night!
Meanwhile, I turned to my fabric stash and my ever-growing collection of vintage dress patterns. Most of the patterns in the photo above I picked up from a very generous stall holder at Cheddar Car Boot Sale. She gave me an entire carry bag full of dusty old patterns for £1. My all time favorite is the 1950's Vogue pattern in the bottom right hand side of the photo. I actually paid good money for that one in a vintage shop on Austin's North Loop. I'll need to trim two inches off my waste before I could make that one - or learn to alter patterns!
From the stash, I selected a few yards of linen-like black fabric to make a sundress. I originally bought the fabric over two years ago for £1 at Watney Market in London's East End. Now don't y'all go rushing out to find Watney Market. It's something of a shit hole, but it does have cheap fabric if you're looking to decorate your house for a Halloween party. I used this fabric to make a spooky display for the party, so it has several drips of candle wax on it that I had to cut around.
Now that the pieces are cut out and ready for sewing, I'm adding a few special embroidered touches. I'll post a full update later in the week, including plans to style my outfit. I'll also be posting a brand new tutorial on how to make the special gift that I've made for the happy couple. All this is to say that I'm not really knitting this week, but I'm also awaiting a special shipment of supplies to start on my cushions. Two bespoke designs are in the works for cushion covers, and both patterns will be given away here on the blog and on ravelry. So there's a lot in the pipeline. Stayed tuned!
Monday, 25 June 2012
My Dream Office
 |
| home office white |
 |
| home office pink |
 |
| home office bedroom |
 |
| home office miniature |
Our John Lewis shipment came today - the last of our wedding vouchers used up, and as expected, I'm so eager to doooo something with my two new cushion inserts! I'm planning a couple of cushion patterns, so watch this space.
Olly and I passed the reference checks for our new flat, so we should be moved in by the end of the month. In eager preparation, I'm watching ebay like a hawk for bits and pieces that we're missing. I could use a desk, and I think an antique bureau would fit the bill nicely. I've decided to set up an "office" space right next to our bedroom's bay window to take full advantage of the sunniest spot in the house. I need a LOT of light to stay motivated, positive, and happy. I also need for my work space to be organised and attractive. It's not important to some people, but it's a priority for me. I know I can't have my dream office now, but it's a goal to work towards! All the images above come from Home DIT.
What does your work space look like?
Sunday, 24 June 2012
Sunday Stitch Session: Stamen Stitch
Stamen Stitch
Cast on a multiple of 2 stitches, plus 2 stitches.
Row 1: (WS) K1, *k1, sl 1 pw, rep from * to last st, k1.
Row 2: K to end.
Row 3: K1, *sl 1 pw, rep from * to last st, k1.
Row 4: K to end.
Repeat.
Cast on a multiple of 2 stitches, plus 2 stitches.
Row 1: (WS) K1, *k1, sl 1 pw, rep from * to last st, k1.
Row 2: K to end.
Row 3: K1, *sl 1 pw, rep from * to last st, k1.
Row 4: K to end.
Repeat.
Friday, 22 June 2012
New Job Wrap: Update
 |
| gerda stole |
I've got a ticket booked to attend the UK Handknitters Association Knit Show in Bristol this weekend. This is my first ever trade show! For all of you who might be headed to Cumbria for Woolfest this weekend, I hope you have a marvelous time!
Thursday, 21 June 2012
Knitting with the Colour Guys? Okay!
 |
| zigzag cushion |
You may have noticed that I accidentally scheduled two of my posts to be published on Monday morning, instead of one on Monday and one on Tuesday - leaving me a blog post short this week! So in haste, I've thrown this together.
What's my inspiration today? Olly and I have finally found a small flat to rent here in Somerset, and we're both so excited to move in soon! We've been staying with my mother-in-law (bless her) for the first three months of our country-living experiment, and while there's plenty of space for us all, Olly and I are ready to FINALLY, for the first time EVER, live as a newly married couple on our OWN!
And this also means that I get to decorate a new flat! I've got a large John Lewis order on the way after using up the last of our wedding gift certificates. I bought two feather cushion inserts that will need covering, so I'm looking around for inspiration. Should I try to use up some fabric scraps so there are less to store? One idea is to make patchwork cushion covers with the Saturday Stitch Session swatches. But there's a serious risk they'll turn out more granny-chic than just chic.
Or I could be really naughty and buy new yarn to make the glorious Kaffe Fassett designs above! Those, incidentally, are from his latest book with Brandon Mably called Knitting with the Colour Guys. At less than 9 pounds on amazon with free shipping, I think my new abode neeeeds this book! If you have colour, yarn, or pattern suggestions for small cushion covers, please share!
Wednesday, 20 June 2012
A Crafty Week So Far // June 2012
chewy sugar cookies // nigella // unfinished project // fabric stash // wild daisies // my embroidery bag // lone poppy // project sneak peak // wild roses
Tuesday, 19 June 2012
Green with Envy
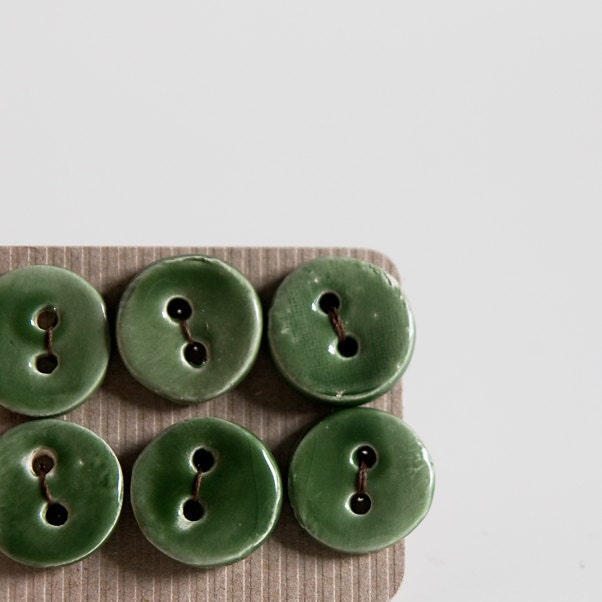
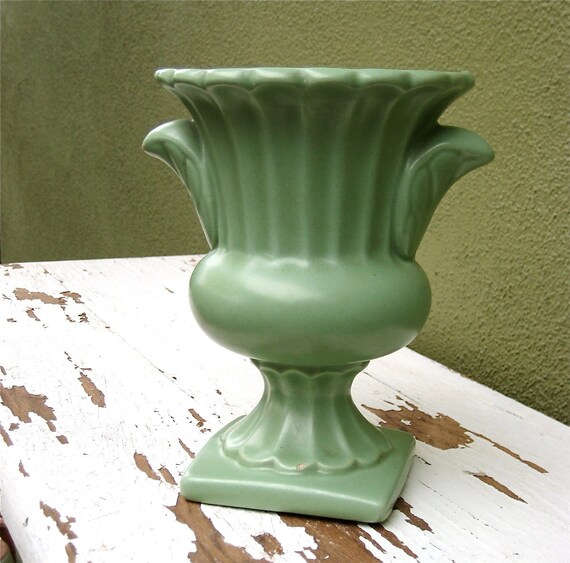
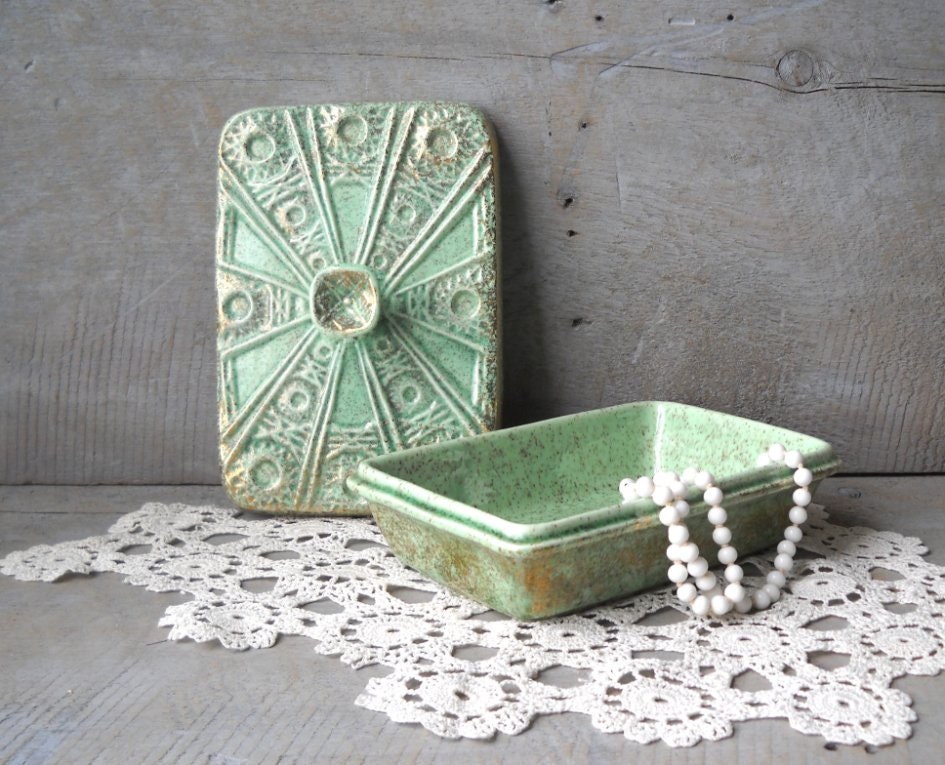
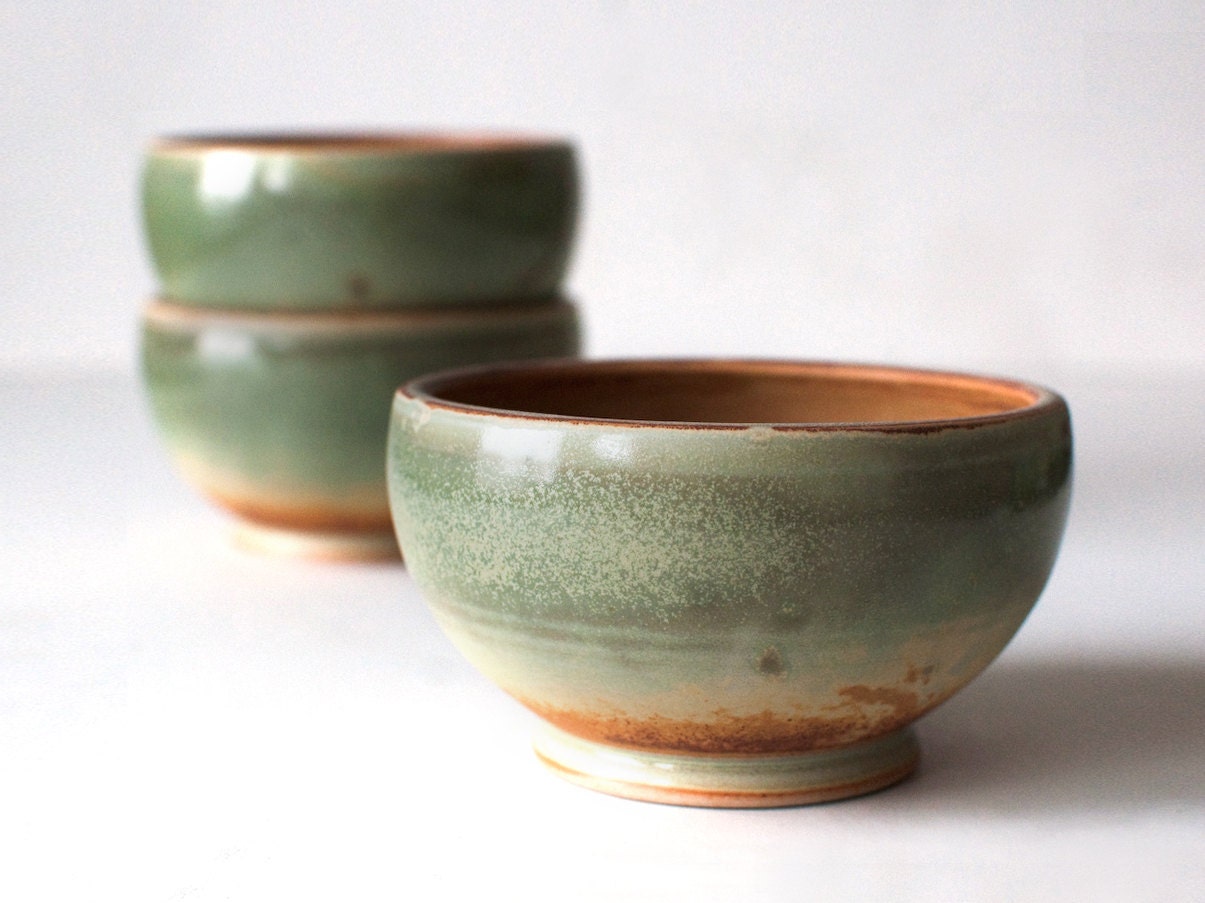
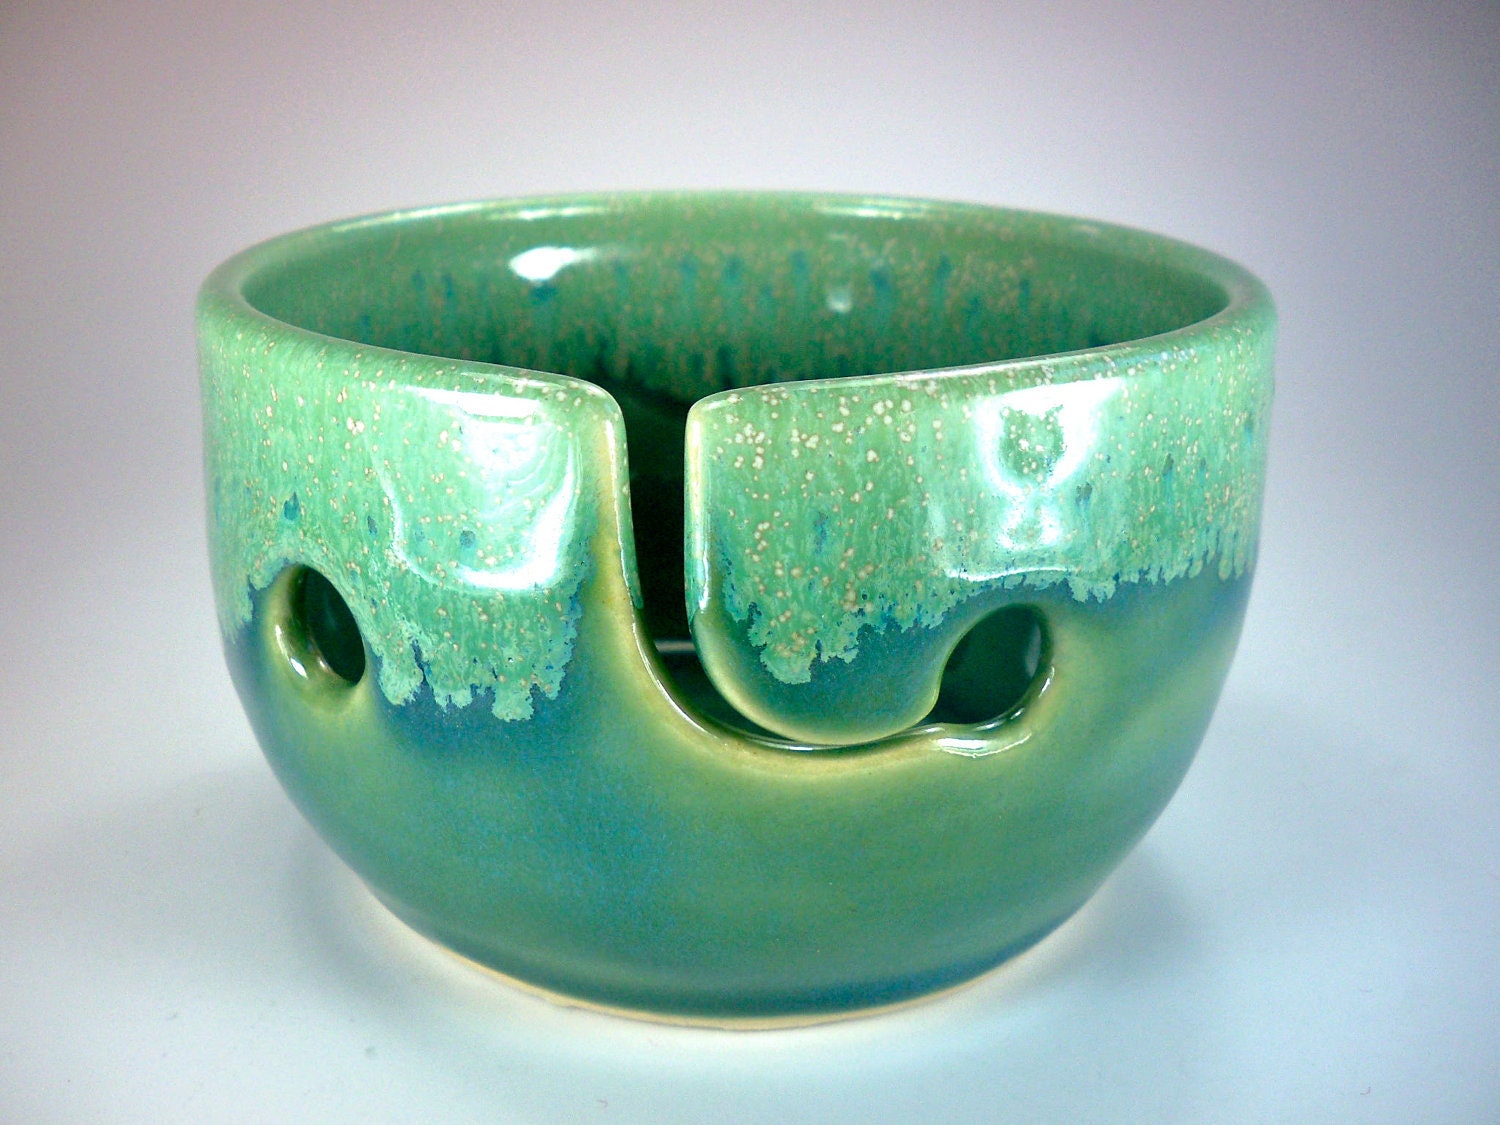
I don't collect much - with the exception of wool and fabric scraps. As a child I was into dolls, but I've never been one to collect a lot of just one thing, such as stamps or baseball cards or even a china pattern. However, someday when I have the space and money, I will give into every single impulse I have to buy green pottery. I'm not sure what it is, but I love the stuff - particularly if it has a matte finish. Here is some green treasure that I would like to own, ceramic and woolly.
Monday, 18 June 2012
A Crafty Week and My Own Arm Party
 |
| arm party |

And in fact that image comes from Honestly-WTF, where I followed their step-by-step tutorial on making friendship bracelets with embroidery thread. I woke up early on Saturday because Olly left for work before dawn. Unable to fall back asleep, I passed a few hours listening to knitting podcasts and crafting my first freindship bracelet for at least 20 years. It took me right back to the boiling hot summers of my childhood in the Texas Hill Country at Camp Loma Linda, and my day dreams warmed me up from inside as I sat practically shivering next to the radiator thanks to our lack of summer here in England.
There are many ways to upgrade a stackable bracelet from average to fabulous, as seen over here on one of my favorite blogs, The Man Repeller. Just the name makes me laugh, and it's a good reminder on how not to dress to attract your partner but to express your own personal style, geeky or unflattering it may be. I added a few brass studs left over from my Free People-esque Shimmer Bag. I already had all of my embroidery thread out, ready to make a wedding present for some friends, which I will reveal in a couple of weeks!
On My To Do List: Learn How to Darn

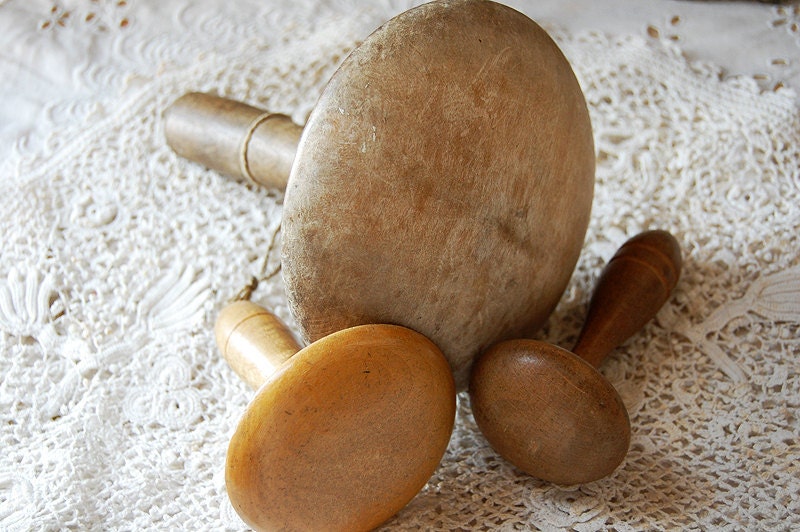
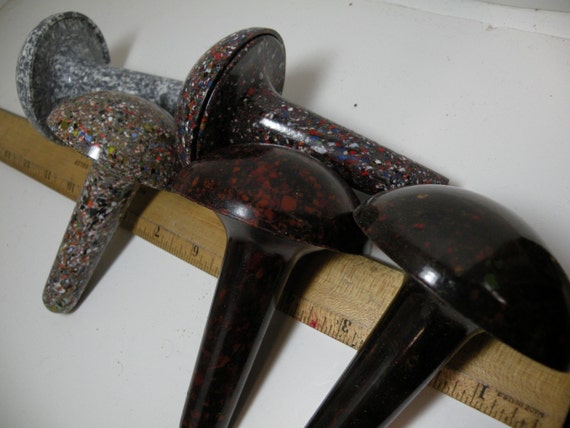
It's sad but true. I don't know how to darn. Anything. Socks. Jumpers. Nothing. But I've watched a very thorough video on youtube, and I'm pretty sure I can handle it. I didn't know that it just involved weaving thread with a needle. I thought it would have required knitting somehow. But then, that wouldn't have explained why "darning needles" are shaped like sewing needles and not like miniature knitting needles. Ah...It's all coming together....
If I'm going to learn a new skill, it's always fun to find inspiration in some beautiful knitting paraphernalia. It's like buying pretty, clean pencils and colourful notebooks for the new school season. Or buying an outfit before starting a new job. Above are three of the prettiest pics from the web that I could find of antique darning mushrooms. Of course I want them all, but I might also keep my eyes peeled at antique fairs!
Saturday, 16 June 2012
Saturday Stitch Session: Slip Stitch Rib
 |
| slip stitch rib |
Cast on a multiple of 3 sts.
Row 1: *P2, ytb, pick up 1 (pick up loop lying between needles, then knit it in the usual way), k1, rep from * to end.
Row 2: *P1, sl 1pw, ytb, k2, psso, ytf, rep from * to end.
These two rows form the pattern.
I suggest using fairly loose tension with this stitch. It tends to pull to one side otherwise. Nothing you can't straighten out with a fair bit of blocking. Enjoy!
Thursday, 14 June 2012
DIY Crochet Earrings
 |
| diy crochet earring |
I'm always slow to pick up trends. In browsing through crafty blogs for tips on perfecting my layout and increasing traffic, I find myself making a mental list of all the projects that I'd love to do someday. I've been particularly drawn to the Crochet Earrings tutorials, and since most of said tutorials dated back to 2006 or so, I just had to give it a go sooner rather than later. It was shockingly easy, despite the fact that I haven't crocheted anything since I was kid. I didn't even have the right size needle hook for the thread, but I didn't let that stop me. It just means that the final result (pictured above) is a little bit looser and lacier than it could have been. I'm hoping the over all effect is more boho chic than granny. That probably depends how they're styled. My top tip is to use drop earrings that don't require jump hoops and, therefore, no pliers! Just slip the earrings onto your crochet motif, et voila! Please feel free to leave comments with links to better more crochet earring tutorials. Tomorrow I'll be sharing what I've decided to do with my remaining crochet thread (hint: it involves knitting)!
Supplies
Crochet thread
Smallest crochet hook you have. I used a 2mm, but smaller is better!
Darning needle
Sharp scissors
Two drop earring hooks.
Starch and an iron (optional)
Soundtrack
Bat for Lashes, Two Suns
Abbreviations
sl st - slip stitch
ch - chain
sc - single crochet
Pattern
Leave a 4" piece of thread tail. Make 8ch and join with a sl st to form a ring.
Row 1. Into ring work: (1sc 2ch) counts as first dc, 13 dc (14 in all).
Row 2. Work (1sc 2ch) into first dc, work 1ch 1dc into each dc of row 1. (= 14dc and 13 1ch spaces.
Row 3. Work sc over first 5 stitches of the row 2. Work 3dc and 1ch into the next three dc of row 2. Work sc over last 6 stitches of the row 2 and across the top to the starting point.
Using your darning needle, tuck both loose ends of thread into the thick middle loop of the motif so as to hide them. Snip off ends with sharp scissors.
You have the option to spary starch and iron your motifs flat and stiff, but I skipped this step.
Slip your drop earring onto the top of the earring and enjoy!
Wednesday, 13 June 2012
Walk on the Fosse Way
The rain finally let up! The sun finally came out from behind the clouds! It finally felt like summer again this weekend! And in celebration, Olly and I went on epic walk in the Mendips. Starting in the old market town of Shepton Mallet, we hiked along an ancient Roman fosse way up a hill and down again. And across a few too many grassy fields for my liking. I'm talking tall grass - like waist high! I made the mistake of wearing my favorite Hunter wellies because they absolutely killed my feet and rubbed on my ankles. But it had been raining and I knew to expect mud on hiking trails, and I felt sorry for the poor wellies that won't get worn at Glastonbury festival this year. Below are some highlights from the outing. Tune in all this week for features about Somerset -- a history of the wool trade//music festivals//big name brands in small towns.
 |
| watch out! |
 |
| a happy hiker |
 |
| view of the tor |
 |
| reward for a job well done |
 |
| cheers! |
Tuesday, 12 June 2012
Sunday, 10 June 2012
Gossamer and Light
I can't for the life of me find the origin of this sweater that I found on pinterest this weekend. I bounced from blog to blog looking for it... If I were to recreate this gorgeous look, I'd opt for a summer weight wool from Texas-based company Madelinetosh.
 |
 |
| madelinetosh - gossamer |
 |
madelinetosh - edison light bulb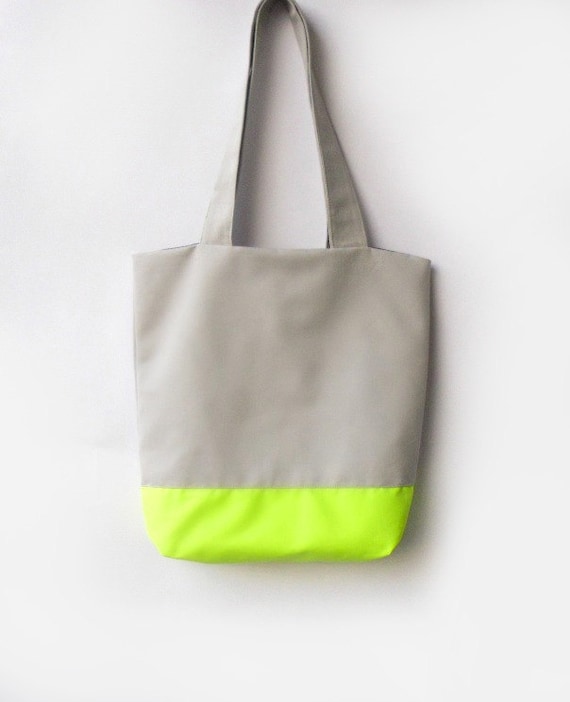
|
Subscribe to:
Posts (Atom)

