Friday, 28 September 2012

Aran Jumper Upcycled


I love a good rummage through charity shops. In Texas we call them thrift stores, and there they tend to be gargantuan. Goodwill and Savers move into former grocery store sites, and it takes the endurance of a cowboy to sift through all the aisles. English charity shops are more like boutiques, and here in my town we have no fewer than eight on the high street!

Over the years I have collected a few treasures at absolute bargain prices from charity shops. I found a brand new pair of Minnetonka moccasins in Houston a couple of years ago for only three dollars. I've picked up sets of Galway and Waterford crystal glasses for just a few pounds. Young people don't need crystal - no one does for that matter, but if they cost the same as a pint glass, why not? My vintage Pendleton wool coat was my winter pride and joy until it tragically got eaten alive by moths in storage last year. I only spent eight dollars on it, and wore it for as many years.

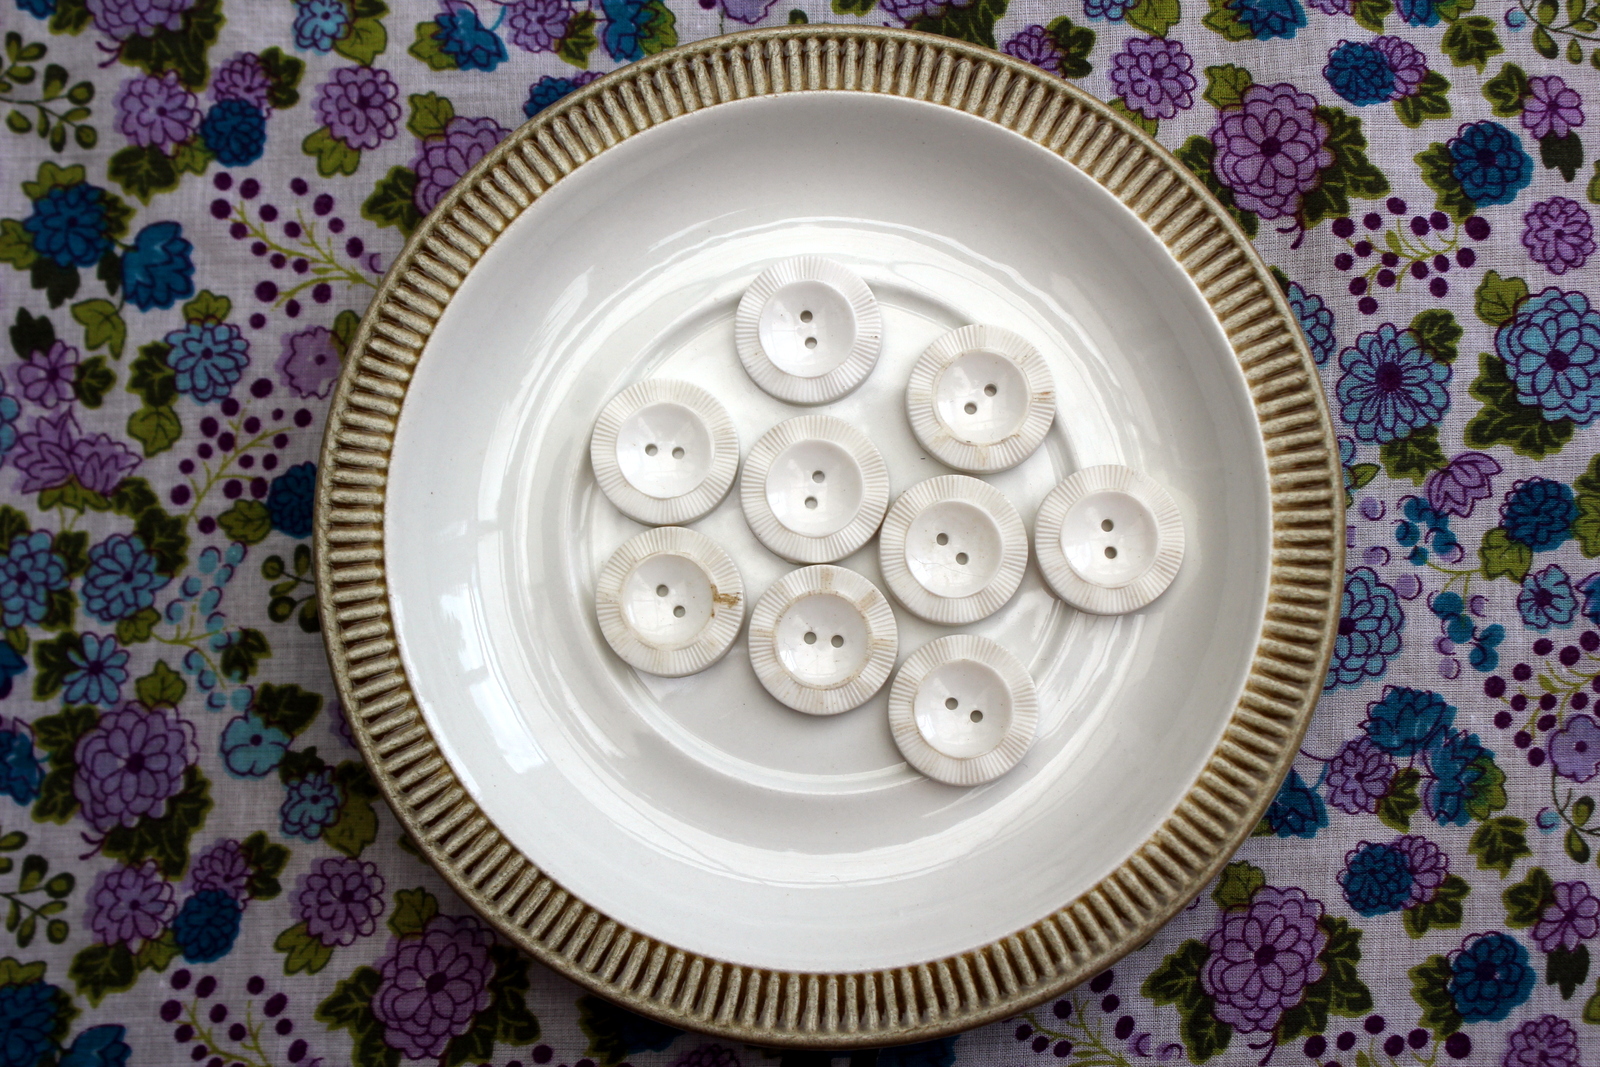
This month's bargain buy was a hand-knitted, aran cabled jumper from the local Red Cross shop. I've been eyeing these trendy jumpers and cardis on Brick Lane in East London, where market stall holders ask at least fifteen pounds (that's about $25!) for them. I bought mine for four quid. And the money went to charity. After wearing it for a while, I'm pretty sure it's 100% wool because it smells like a sheep after riding around on my bike in the rain. Now, before I get too smug about this bargain, let me just say that I had some super ugly buttons to contend with - and replace.


The dingy white buttons on an ivory coloured wool made this cardigan look like an over-sized baby outfit. So I snipped them off right away and wore a kilt pin with it. It took a couple of weeks to decide on the button replacements. Whoever painstakingly knit this treasure included no less than 9 button holes down the front! To buy that many buttons could easily double the cost of the sweater. So in the end, I found these classic wooden toggles at 30 pence a piece, and I'm completely pleased with them. I think they look really fishermanly! It's not bound for the coast though. Olly and I are hitting the road after work today to celebrating our First Anniversary walking in the Brecon Beacons in Wales! Or, if it's too rainy and cold, we'll find a nice pub and drink hot chocolate by a fire all weekend. See you next week!


Wednesday, 26 September 2012

Handmade Dishcloth


Last Sunday's Saturday Stitch Session featured a pattern for Upright Rectangles made from a ball of Rico Design cotton aran in a natural colour. Now, I've been using up bits and pieces of my stash to make relatively small swatches for my ever-growing stitch library, but this week I decided to make a small dishcloth - something useful for the kitchen!

Here's the complete recipe for this quick and easy project.

Notions
A darning needle
Knitting needles in US size 8
Crochet hook in US size F5
Yarn
1 ball of Rico Design Cotton Aran
Abbreviations
K-knit, P-purl, Ch- chain, SC - single crochet.
Pattern
Using your knitting needles, cast on 37 stitches.
Row 1: *P1, k3, (p1,k1) twice, repeat from * to the last 5 stitches, p1, k3, p1.
Row 2: K1, p3, k1, *k1, p1, k2, p3, k1, repeat from * to the end.
Rows 3 - 10: Repeat rows 1and 2 four times.

Row 11: *P1, (k1, p1) twice, k3, repeat from * to the last 5 stitches, (p1, k1) twice, p1.
Row 12: K2, p1, k2, *p3, k2, p1, k2, repeat from * to end.
Row 13 - 20: Repeat rows 11 and 12 four times.

 Row 21: *P1, k3, (p1,k1) twice, repeat from * to the last 5 stitches, p1, k3, p1.
Row 22: K1, p3, k1, *k1, p1, k2, p3, k1, repeat from * to the end.
Rows 23 - 30: Repeat rows 1and 2 four times.

Row 31: *P1, (k1, p1) twice, k3, repeat from * to the last 5 stitches, (p1, k1) twice, p1.
Row 32: K2, p1, k2, *p3, k2, p1, k2, repeat from * to end.
Row 33 - 40: Repeat rows 11 and 12 four times.

Cast off all but last stitch.

Sew in your cast on tail with the darning needle. 

Switch to your crochet hook, and continue to do a single crochet all the way around your cloth, making approximately 36 stitches on each side. There is a good video tutorial showing the single crochet edge and an alternative edging pattern here.

Now that you have single crocheted all the way around your cloth, chain 5 stitches and single crochet into the third stitch along. Continue with this pattern all the way around your cloth (ch 5, sc into the third stitch).

Bind off at the last corner, and sew in your end pieces with the darning needle. Alternatively, use your end piece and a few extra lengths of yarn to create a loop from which to hang your cloth to dry.

Monday, 24 September 2012

Wild Blackberry Jam


Olly and I offered to help my mother-in-law erect some electric fencing around her horse paddocks the other day. But almost as soon we started, the power drill lost its power. Rather than press on with the job and try to screw in fence fixtures by hand, we totally gave up and turned our idle hands to berry picking! The whole field is surrounded by brambles, and the last of the summer fruit is finally ripe. We dined that night on blackberry crumble (made by my lovely husband), and I whipped up a jar of blackberry jam.


Here is a recipe based on one that I found in a vintage Reader's Digest homesteading book. It has been adapted for a small batch.  

Ingredients
1 pound of ripe blackberries
1 pound of white sugar
1 tsp of lemon juice
2 Tablespoons of water

Hull the blackberries and pick out any sticks, stones, bugs, or branches. Rinse and drain the berries. Place them in a pan with the water and lemon juice, and simmer until the berries are soft. I helped berries along with my vintage masher, but that's optional. Add the sugar until it is dissolved, and then allow the mixture to boil rapidly until just before the setting point. Remember that your jam will set firmer when it cools, so be careful not to overcook it. If you choose to strain out the seeds to make a clear jelly, do this before the boiling step. This recipe will fill a 300g jam jar when the seeds are strained and will yield more if you leave the seeds in. Enjoy!


Sunday, 23 September 2012

Sunday Stitch Session: Upright Rectangles

Cast on a multiple of 8 sts. + 5 sts.

Row 1: *P1, k3, (p1,k1) twice, repeat from * to the last 5 stitches, p1, k3, p1.
Row 2: K1, p3, k1, *k1, p1, k2, p3, k1, repeat from * to the end.
Rows 3 - 10: Repeat rows 1and 2 four times.

Row 11: *P1, (k1, p1) twice, k3, repeat from * to the last 5 stitches, (p1, k1) twice, p1.
Row 12: K2, p1, k2, *p3, k2, p1, k2, repeat from * to end.
Row 13 - 20: Repeat rows 11 and 12 four times.

These 20 rows make up the pattern.


Monday, 17 September 2012

Woolly Hat for the Winter


This week I'm going to spend some time updating my Ravelry project gallery. This is something I've been meaning to do for quite some time, but for some reason or another, in the last few years I just haven't been disciplined enough to take pictures of my projects when they're finished. Now that I'm blogging, I think it's a great time to update Ravelry and share my projects with you, dear readers.

The first project is a woolly cabled hat based on the Utopia Cable Hat by Smariek. This project is particularly special to me because I made it for Olly a couple of months after we started dating in September 2009. Three years later, we've been married for a year and the hat has held up wonderfully! Now let me be clear that I am not the kind of girl who would normally make a boyfriend a gift only a couple of months into dating. But then I'm also not the kind of girl to have a boyfriend, so all the rules were thrown out the window and caution was thrown to the wind when I fell for Olly. Plus, he asked me to knit him something! I think he must have figured out early on that it he were going to spend a lot of time with a knitter, he might as well benefit from it. Clever guy.

The pattern is really easy to follow, and it's a great introduction to cabling if you've never done it before. I actually bought the Rowan Colourscape Chunky wool before identifying which pattern to use because the colourway was exactly what Olly had asked for. The wool was a dream to work with, and it's held up to three years of abuse, washing, stretching, and reshaping. It's love!


Monday, 10 September 2012

Knitted Newborn Hat


I may have mentioned before that several new editions to my family and friend circle are on the way. Two baby cousins are due this month! My cousins are expecting their third boy, and Olly's cousins are expecting their first little one. With so many baby gifts to produce, I've been asking myself if I should have a go-to gift waiting in the wings at all times.

I used to sew baby soccer/footballs with scrap materials, and I still have some the pentagons and hexagons cut out in my stash pile. This gift is usually really popular with toddlers, but I wonder if new parents are thinking, gee, thanks for the gift my kids won't use for two years! It's also a very time consuming gift, and that's why I opted for a knitted cap this time.

I found a pattern produced by Jennifer L. Jackson which is featured on her blog here and on Ravelry here. It's a super, duper easy pattern that took me about an hour and a half to complete. I dug deep into my stash for the perfect yarn to use - something that has been waiting for years to be made into a baby hat. Down at the very bottom of my wool box were lurking about 30 grams of Blue Sky Alapacas Organic Cotton that I purchased several years ago at Loop in London. It's an extremely soft yarn that I believe has now been discontinued, perhaps because it's just too dang soft and isn't really sturdy enough to be made into anything that will need to be washed or stretched every much.


The pattern calls for US size 7 needles, but I could only find US size 6s - 4.25 mm in my interchangables. Frankly it looks plenty big as my knitting tension has loosened up recently, but to be honest I don't know how big a newborn baby's head is. I'm sure they vary! I used the magic loop method on circular needles, but the project is so small that double pointed needles would have worked a treat. On to the next baby item!


Sunday, 9 September 2012

Sunday Stitch Session: Parallelogram


Cast on a multiple of 12 stitches.

Row 1: *K1, p5, k5, p1, repeat from * to the end.
Row 2: *K2, p4, k4, p2, repeat from * to the end.
Row 3: *K3, p3, repeat from * to the end.
Row 4: *K4, p2, k2, p4, repeat from * to the end.
Row 5: *K5, p1, k1, p5, repeat from * to the end.
Row 6: *K6, p6, repeat from * to the end.
Rows 7 & 8: Repeat row 6.
Row 9: *P1, k5, p5, K1, repeat from * to the end.
Row 10: *P2, k4, p4, k2, repeat from * to the end.
Row 11: *P3, k3, repeat from * to the end.
Row 12: *P4, k2, p2, k4, repeat from * to the end.
Row 13: *P5, k1, p1, k5, repeat from * to the end.
Row 14: *P6, k6, repeat from * to the end.
Rows 15 & 16: Repeat row 14. 

These rows make up the pattern. 

Tuesday, 4 September 2012

Felted Chair Cushion


This project came about kind of by accident. I've been wading through my stash of unfinished projects that have accumulated in the last few years, and somehow this grey piece of cabling got mixed up with my stash of unwashed laundry. One warm cycle in the washing machine later, I had a mostly felted square of knitted wool! Hrm...


I needed a cushion for my folding chair that is convenient to store but is less than beautiful or comfortable. I decided to sew a simple cushion using my felted square, a piece of brushed camel wool, and four strips of floral tape used for tying the cushion to the chair. I stuffed the cushion loosely with batting from a cheap pillow that was long ago sacrificed to the crafting gods. Lastly, I added a knitted I-cord and sewed it on as well. Et voila!


That last picture is pretty terrible, and I promise that the cushion is square and not so misshapen as it looks above. But this gives you an idea of the how the camel contrasts with the grey wool. I'm hoping that any lumps or bumps smooth out the more I sit on it!

Sunday, 2 September 2012

Report from The National Gardening Show


We, my husband and I, not the royal we, treated ourselves to an afternoon out to The National Gardening Show this weekend. It was my first flower or gardening show here in the UK, or anywhere, and I had really high hopes - not least because because the tickets cost 12 pounds each! Where is the pound sign on this American computer....?


Some exhibits were quite frankly disappointing. Take the National Dahlia Society held its annual competition in a massive expanse of the indoor Bath and West Showground. While the dahlias themselves were absolutely breathtaking (even several days after having been cut), but I thought too much space was given to this one section of the overall show. There was a really interesting botanical art exhibit, but there were only two artist featured. I'm a huge fan of botanical art (who isn't partial to a watercolour cabbage?) and would have liked to see more of this!


However, there were aspects of the gardening show that we really weren't expecting and that were a great surprise. For example, there was a great bee keeping garden, and we caught the tail end of a really informative and pretty funny demonstration. Olly spent some time ooing and awing over some cute alpaca, and I spent some time drooling over bags of their wool! Some other unexpected highlights were the larger than life gourds, cabbages, pumpkins, and roots - including the worlds longest parsnip. Seriously, it's a contender for the Guinness Book of World Records! We had a really lovely time all in all, made it home before the drizzly rain started up again (welcome to Autumn, not so different from summer), and we came home with a few new plants for our garden. Success!

Saturday, 1 September 2012

Saturday Stitch Session: Wishbone Cable


Cast on 28 stitches.

tbl = through the back loop

Row 1: P3, k1 tbl, p1, k1 tbl, (p4, k2) twice, p4,  k1 tbl, p1, k1 tbl, p3.
Row 2: K3, p1 tbl, k1, p1 tbl, (k4, p2) twice, k4, p1 tbl, k1, p1 tbl, k3.
Rows 3 - 6: Repeat rows 1 and 2 twice.
Row 7: P3, k1 tbl, p1, k1 tbl, p4, Cr4F (slip next two stitches onto cable needle and leave at front of work, p2, yarn over, k2tog from cable needle). Cr4B (slip next two stitches onto cable needle and leave to back of work, k2tog, yarn over, p2 from cable needle), p4, k1 tbl, p1, k1 tbl, p3.
Row 8: K3, p1 tbl, k1, p1 tbl, k4, (p2, k1 tbl) twice, p2, k4, p1 tbl, k1, p1 tbl, k3.

These eight rows make up the pattern.