Tutorial: Pulled Fringe Embroidered Napkins
I actually started this project about 9 months ago! I had embroidered three of the four napkins and then lost steam before the Christmas craftytime rush. Well, there's nothing like moving house to remind you of all your WiPs - Works in Progress. I recently bought an old oak bureau with two large drawers, and I am absolutely determined to try to limit all of my crafting supplies to those two drawers. That doesn't include my wool stash of course.... that plastic storage box is under the bed! But all of my WiPs are taking up too much space so I'm making a concentrated effort to get them completed. Here's the first of my finished projects. Enjoy!
Supplies
- a square of linen-like fabric (four to make four napkins)
- brightly coloured sewing threads
- brightly coloured embroidery threads
- embroidery needles
- an embroidery hoop
- fabric scissors
- a sewing machine
- an iron (optional)
--------------------------------------------------------------------------------------
Step 1: Fold your linen squares in quarters, and embroider a fun design in one of the corners of each napkin. I used a selection of Aunt Martha's iron-on transfers by Colonial Patterns purchased in Texas a million years ago. Be sure to knot your embroidery thread at each end if you plan to wash your napkins in the washing machine.
Step 2: Select a few brightly coloured sewing threads to, not necessarily match, but coordinate with your napkins.
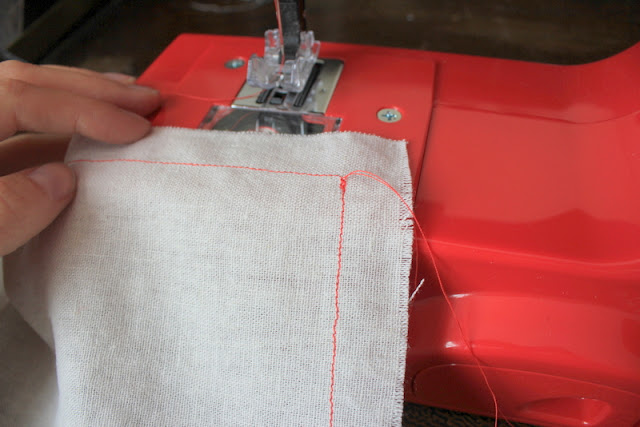
Step 3: Sew a square all the way around one of your napkins - about half an inch from the outer edge.
Step 4: Sew another square approximately a quarter of an inch from the first square. Don't worry if your lines aren't perfectly straight. If you use an inexpensive fabric that is loosely woven (and thus easier to fringe), then it will be just about impossible to keep your lines straight due to the nature of the fabric. That's okay!
Step 5: Using a straight pin or an embroidery needle, gently pull out each vertical thread to create the fringe. Do this on all four sides of your napkin. Repeat the sewing and fringing process on all four napkins, and then iron them stiff with a light starch.
And that's it. Now it's tea time... or cocktail time!


They are beautiful! Lovely stitching!
ReplyDelete